Guides
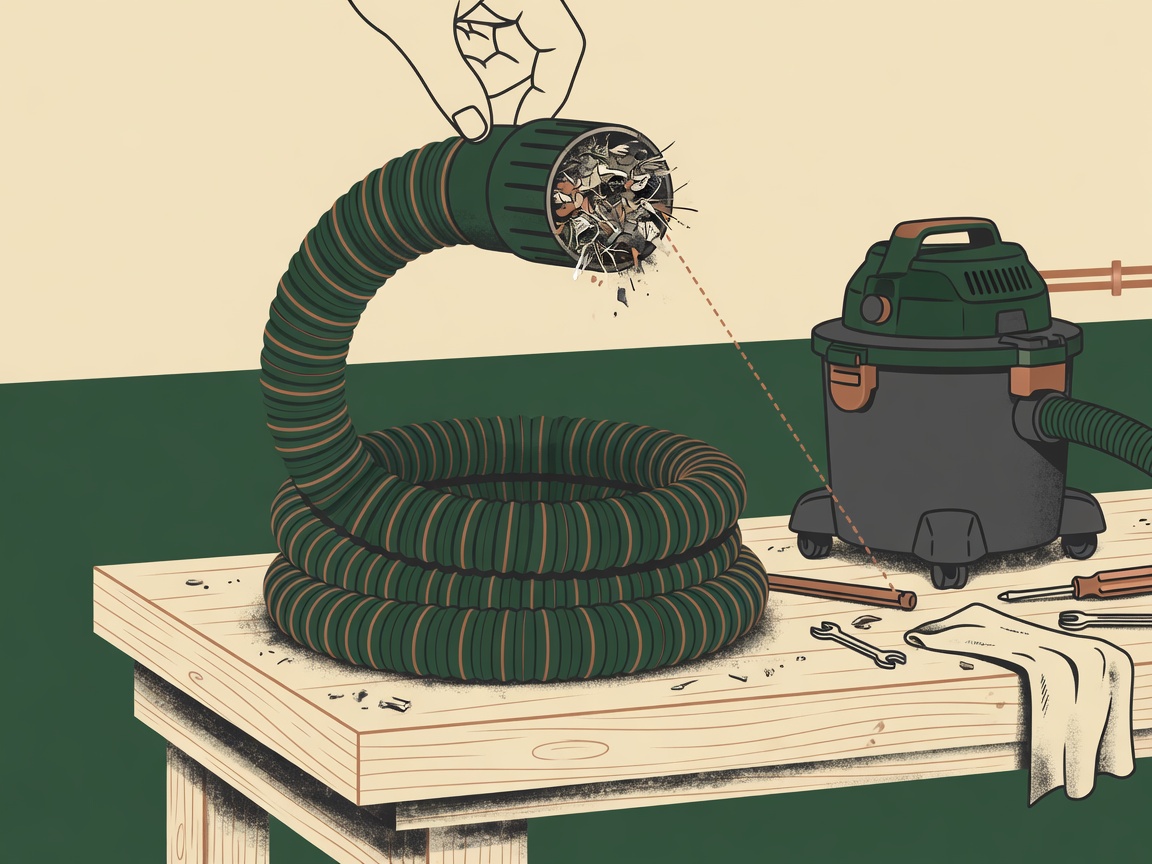
Clogged Shop Vac Hose
Learn what to inspect first, how to clear a clogged shop vac hose safely, and when to replace the hose, adapter, or another part.
On this page
What usually failed
A shop-vac hose usually needs attention when suction drops, airflow pulses, or debris stops moving even though the motor still runs. Start at the hose ends: check the inlet, wand, adapter, and floor tool for a packed opening or a loose fit. Compatibility matters—an adapter that does not seat securely can leak air or restrict the passage.
Disconnect the hose before clearing it. Remove the attachments, look through the hose, and work a blunt, flexible tool through the blockage from the wider end. Do not use a sharp rod, force a rigid object around a bend, or push debris deeper into the hose. If the hose is kinked, crushed, split, or no longer seals at either end, replacement is usually more practical than trying to restore full airflow. Replace an adapter or tool when it is cracked, distorted, or too loose to make a stable connection.
If the hose is clear and the connections fit properly but suction remains weak, inspect the filter, collection container, and other serviceable parts next. A blockage outside the hose can produce the same symptom, so replacing the hose alone may not solve the problem.
Check these first
Start with the hose and its connections. Turn the vacuum off and unplug it, then check that the hose is fully seated at the inlet and that any adapter matches both the hose end and the tool port. Look for a crushed section, split, loose cuff, or blockage at the inlet, bends, and adapter. A poor fit can reduce airflow even when the hose itself is clear.
To clear the hose safely, disconnect it from the vacuum and tool, then inspect both ends with a light. Remove reachable debris by hand or with a flexible, blunt tool; do not force a rigid rod through the hose, puncture it, or sharply bend it. If the blockage will not move, replace the hose rather than risking damage. Replace a hose with a split, collapsed section, or permanently loose connection, and use an adapter only when its size and connection style are compatible with the hose and tool.
If the hose is intact and the connections fit securely, inspect the inlet, filter, collection container, and seals for obstruction or poor seating. Replace the affected part when it is cracked, deformed, or no longer seals securely. Disconnect power before opening the vacuum or removing any component.
Clear the blockage or restore suction
Start at the hose and work toward the vacuum. Disconnect the hose from the inlet and wand, then look through each opening for a packed plug, crushed section, or object caught at a bend. If the hose has a removable cuff or adapter, separate it only as the design allows; forcing a glued or threaded connection can damage the fitting and create a leak.
Clear a soft blockage by gently flexing the hose and guiding it out from the nearest opening. A blunt, flexible tool can help push debris through, but avoid screwdrivers, wire, coat hangers, and anything sharp that could puncture the hose or catch its inner wall. Do not use high-pressure air unless the hose and fittings are rated for it, since pressure can loosen cuffs or send debris back toward you. Reassemble the connections firmly and check that the hose is not kinked or collapsed before running the vacuum.
Replace the hose if it has a split, pinhole, permanently flattened section, loose cuff, or connection that will not seal. Match the replacement by the vacuum inlet and tool-end diameter, attachment style, and any required adapter; a hose that fits one end may still be incompatible with the other. If the hose is clear and seals correctly but suction remains weak, inspect the adapter, wand, floor nozzle, filter, and collection area for a restriction or poor fit. Replace the failed part rather than compensating with an improvised adapter that leaks or reduces the opening.
When to stop and replace a part
Once the hose is clear, inspect it along its full length and check both ends. Replace it if you find a split, crushed section that will not reopen, loose cuff, damaged threads, or a connection that no longer seals. Tape may hold briefly, but it is not a dependable repair for a hose that leaks under suction or sheds material into the airflow.
Before buying a replacement, match the hose diameter and connection style to the vacuum and the tool adapter. A hose that fits the opening but leaves a gap can reduce suction and allow dust to escape. If the hose is sound but suction remains poor, stop forcing the blockage through it and inspect the inlet, filter, collection container, and any adapter for damage or a poor fit. Replace the damaged component rather than enlarging, cutting, or forcing a mismatched connection.
A DIY fix has reached its limit when the hose cannot be cleared without sharp tools or excessive force, when a part is cracked or deformed, or when the vacuum still performs poorly after the airflow path is open and the connections seal. Disconnect power before removing a hose or accessory, and use the replacement part specified for the vacuum or a clearly compatible adapter.
Keep reading
Related guides
How to Choose a Shop Vac
Wet or dry, tank size, filters and the jobs a shop vac actually handles.
Choosing a Shop Vac for Drywall Dust
Fine dust, filtration and a setup that does not clog immediately.
How Shop Vac Filters Work
Filter types, when to clean them, and when to replace them.